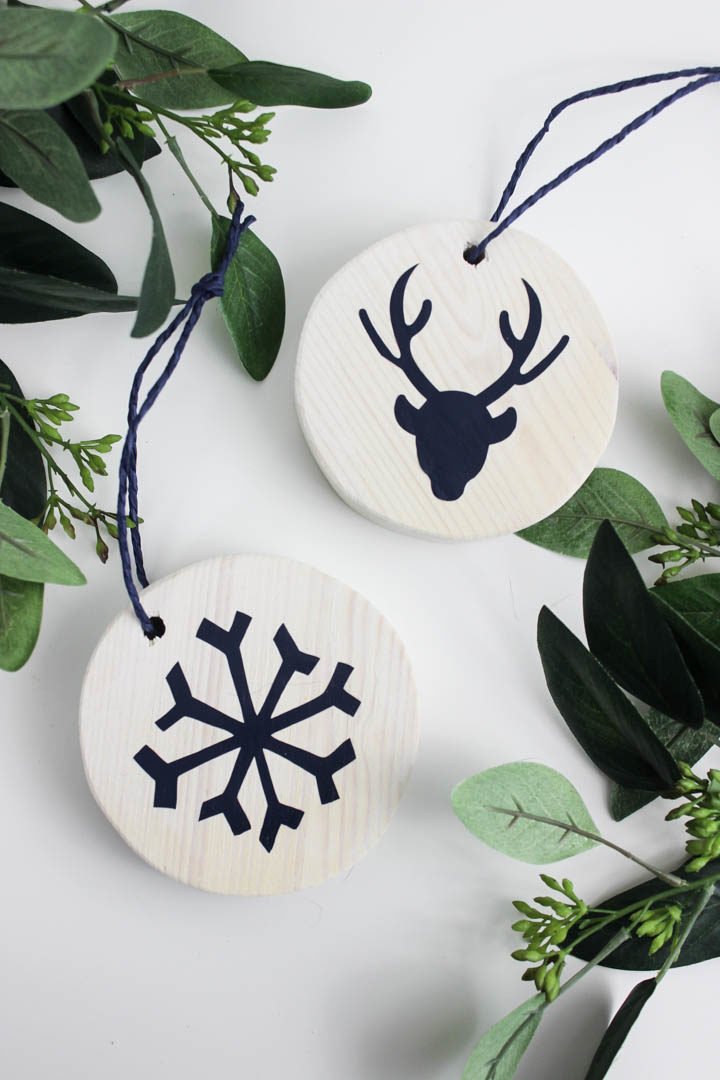
Hey everyone! It’s Lindi, back again from Love Create Celebrate! Since the holiday season is quickly approaching, I thought I’d share an easy holiday project. This is my absolute favourite time of year, and I’m always making new ornaments for our tree. Last year I shared a simple rustic pallet ornament and this year I wanted to use that same beautiful deer head on a new ornament.

If you have a piece of scrap 1×6″ board lying around, you can make these! I had some pine board left over from a recent project that was perfect.
Materials:
- Scrap 1×6″ board
- Scroll saw
- Drill
- White wash stain
- Cricut Maker
- Iron-on vinyl
- Iron
Affiliate links used in this post to help support the blog at no cost to you. Thank you for the support!
Here’s how you can make your own white washed ornaments:

First, grab any circle and trace it onto your wood. I used a paint can that was about 3″ in diameter.

Next, use your scroll saw to cut out the circles. The easiest way to do this is by cutting the circles apart first. The nice thing about this project, is that the circles really do not have to be perfect! Imperfect ornaments just give rustic charm :)

Drill a small how near the top of your ornaments. You want the hole big enough to pull some jute string or ribbon through.

Ok, I only recently found this white wash wood stain and I’m in LOVE with it! How have I never used this before? The white stain it puts on the wood, that still allows the wood grain to show through is really beautiful.

Once you have your ornaments cut and stained, you can add a design. If you are talented, you can probably freehand something beautiful with a paint brush. I do not have those talents, lol. You can also use a stencil, but I chose to use my Cricut Maker.

I’ve used my Cricut Maker for a ton of different types of DIY projects. If you haven’t heard of it, I’ve given a great summary of what it can do here, but it’s basically a mini CNC for thin materials like paper, vinyl, leather, and thin wood. I’m using it here to cut some iron-on vinyl.

You can use my design in the Cricut Design Space HERE. Just open the Cricut Design Space, click “Make It”, and it will cut the exact design onto your iron-on vinyl.

When the designs are cut out, you want to peel away the vinyl that is not part of the design. The part you want should still be attached to the protective shiny layer.

Place those images on top of your ornaments (shiny side up), put your iron on the no-steam setting, and hold your iron over the designs for about 10 seconds. You may need to move the iron around a bit to make sure all of the vinyl is secure.

When it’s ready, the top protective layer should peel away easily and the vinyl will be permanently attached to your wood.

I LOVE these guys? Isn’t the white wash beautiful? I chose to use a navy vinyl because I’m decorating my home with blues and whites this year, but you can choose any colour you love!


I hope you are inspired to make your own easy white washed ornaments!

The post Easy White Washed Ornaments appeared first on The Ugly Duckling House.
No comments:
Post a Comment